FreedomCasts
Episode #23

#23: Multi Node Management and Load Balancing
Learn how manage multiple nodes and set up load balancing with Antsle.
Video Transcription:
Hi. It's Bernie here from sunny San Diego. In this video, I'm going to show you our brand new multi-node management features of antMan, as well as our load balancing. So let's jump right into it.
I have antMan open and a node called Aster. So I see Aster here as well. This is Asters dashboard by the way. I see some basic information about the server that I'm running on. You can see my two ZPools that I have and I see a few antlets here. They can be KVM or they can be bare-metal containers, which is the really cool stuff about Antsle. So you don't need to have full virtualization. You can run it in bare metal containers, which is so much more efficient to run. So this is just one node.
So what we can do now in the new antMan is click this little triangle here and see all the nodes (Aster as our local node) that antMan is running on. We can add a new node. So I can type http://iris.local as a local host URL. Iris is another node that we find running there. For username, I’ll type “root,” and type in my password. I’ve added a new node successfully. So now when I click here, the triangle is pointing to the right section of the screen and not to the bottom anymore. So I have my two nodes and I can just switch to Iris. It tells me the node has switched to Iris, letting me see the information and antlets for Iris, as well as enabling me to switch back to Aster. If I want, I can also switch back to a unified view which gives me a more conclusive view of all my antlets and lets me manage them.
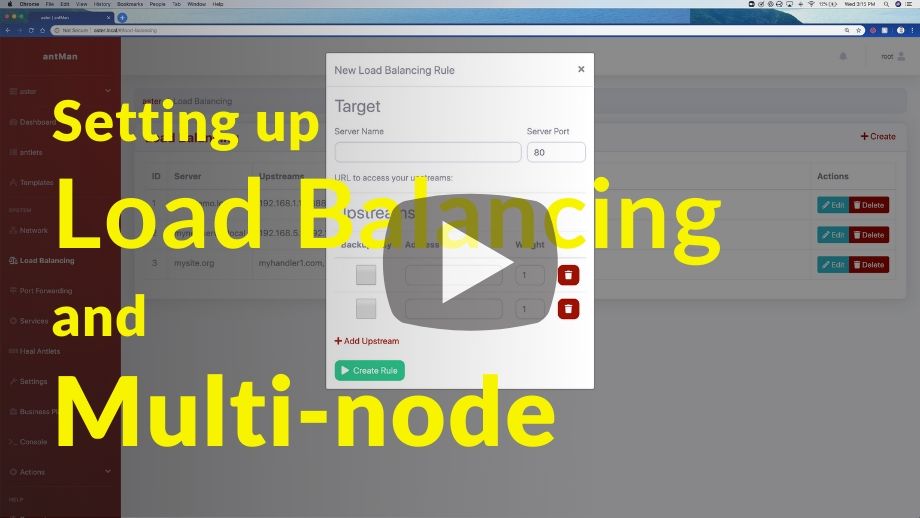
So let's go back to Aster. I'm going to show you how to set up load balancing, which is a really cool feature. First, you’ll go to the menu item in our sidebar called “Load Balancing.” We already have one load balancing rule here for demo purposes. You can add another rule. You can say “mysite.org” on server port 80. Now it tells you the URL to access your upstreams as “mysite.org.” So every time someone tries to access “mysite.org”, you can forward it to upstreams and have them load balanced to all the upstreams that you're adding . So by default, we give you two fields to add your upstreams. For example, this field could be “myhandler1.com”with a weight of 5. The next field could be “myhandler2.com” with a weight of 1. We could add another Upstream to read “myhandler3.com” with a weight of 2.
So now we have three handlers, but we need to make sure we have them set up. These three servers can handle all our requests. In the example, “myhandler1.com” is a fatter server with a weight of 5, so it can handle more requests. It might handle five out of eight requests, for instance, with one going to “myhandler2.com” and two going to “myhandler3.com.”
Dividing your requests between multiple Upstreams is an efficient and easy way of handling all your HTTP requests. If you have read-only access, a read-only website, or you have something where you also write to a database, you would need your databases replication feature. So, for example, if you use Postpress or mySQL, then they all have that replication feature.
If you use something like Microsoft SQL server, you can do the load balancing here with antMan and you do the database replication with the database system that you're using. You can add more upstreams and you can also enable the “backups only” feature by adding a checkmark in that column to the corresponding Upstream you wish to apply it to. With this feature, This server will only be called upon when the others are down. You could have your first three Upstreams unchecked and handled in a round-Robin fashion, with the last one only being utilized if the first three are down. You can also delete your individual upstreams and make new rules by clicking “Create Rule”. Your new URL then populates on the page and you can edit it later if you want.
That’s how easy it is to set up your load balancing. In the new antMan, with multi-node management, you can add an arbitrary number of nodes and manage them all in one place. So, I hope this was helpful. Remember to comment down below what you think. If you have any more questions, if you need any more details or I should do another video about some other stuff, let me know in the comments. Please also don't forget to like button since it will advance our movement. Thanks guys. See you soon in the next FreedomCast.
Next Episode >
